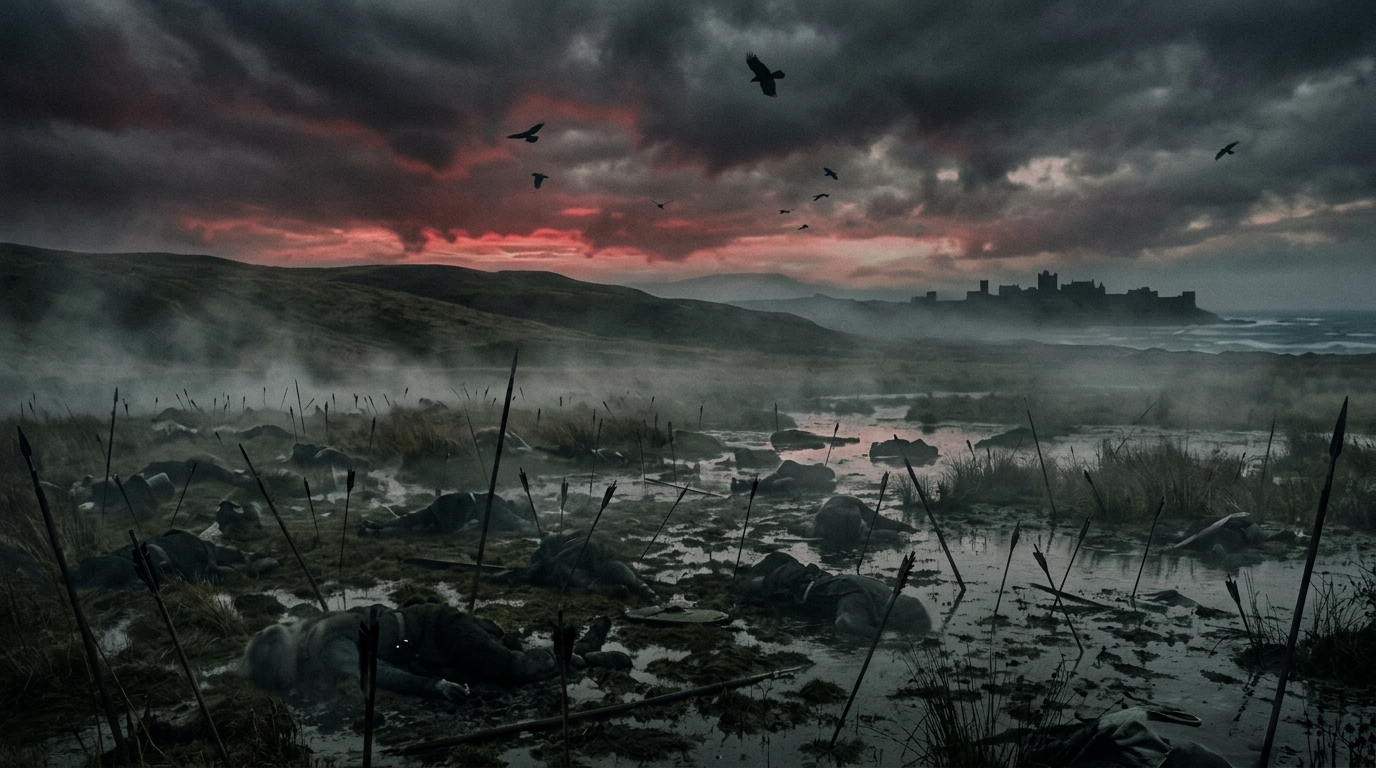
The Battle of Halidon Hill, fought on 19 July 1333, was one of the darkest days of the Second War of Scottish Independence. On a low ridge north of Berwick-upon-Tweed, a large Scottish army was shattered in a matter of hours. Moreover, the defeat cost Scotland much of its nobility in a single afternoon.
This was young Edward III’s first pitched battle. Consequently, it became a brutal masterclass in the tactics he would later unleash on France.
Who was Edward Balliol?
Edward Balliol was the spark for the whole war.
Balliol (c. 1283–1364) was the eldest son of King John Balliol, whom Edward I deposed in 1296. For a time, the young Balliol was even held prisoner in the Tower of London.
He then spent decades chasing his father’s lost crown. Crucially, England saw his claim as a useful weapon against Scotland. With English backing, therefore, he became a client king, propped up by Edward III and discarded once he had served his purpose.
Why the armies met at Berwick
To understand the battle, you must first understand the prize. That prize was Berwick, then the richest trading town in Scotland and the gateway between the two kingdoms.
The trouble began after Robert Bruce died in 1329. His heir, David II, was only five years old. Meanwhile, Balliol pressed his rival claim to the throne, quietly backed by Edward III of England.
Balliol had already crushed a royalist army at Dupplin Moor in 1332. However, he was expelled from Scotland within months. The English king seized on the chaos as a pretext for war and, in spring 1333, marched north to besiege Berwick.
Balliol reached the town in late March. Edward III arrived with the main army on 9 May. Together, they cut Berwick off by land and sea, and English trebuchets soon pounded it toward ruin.
The doomed relief of Berwick
By late June, the exhausted garrison sought terms. As a result, its governor, Sir Alexander Seton, agreed to surrender unless relieved by a set date.
Sir Archibald Douglas, Guardian of the Realm, had spent weeks gathering a huge force. Rather than strike quickly, though, he delayed and manoeuvred. He burnt Tweedmouth and even besieged Bamburgh Castle, where Queen Philippa was staying. Yet the English king refused to be drawn away.
Edward III also responded with cold cruelty. When the Scots disputed the surrender terms, he built a gallows within sight of the walls. Then he hanged Seton’s own son, threatening to hang two hostages each day the town held out.
A fresh truce finally set a deadline of sunset on 19 July. Relief required one of three things: 200 men fighting into the town, a forced crossing of the Tweed, or an English defeat in open battle. Therefore, Douglas had no choice left. He had to fight.
The battle: a slaughter of schiltrons
Edward III chose his ground carefully. He positioned his army on Halidon Hill, roughly two miles north-west of Berwick. From there, he dominated both the town and the Tweed crossing.
Crucially, he copied the winning formation from Dupplin Moor. He dismounted his men-at-arms into three “battles” and placed longbowmen on each flank. Then he waited.
The Scots approached from the north-west on 19 July. First, though, both sides paused, each hoping the other would attack. During this lull, an English champion, Robert Benhale, reportedly killed the Scottish champion Turnbull and his great dog in single combat.
A little after noon, Douglas finally ordered the assault. Unfortunately, the ground could hardly have been worse for him.
To reach the English, the Scots had to march downhill, cross boggy marsh, then climb the slope. As they struggled upward, English arrows fell “as thick as motes in a sun beam”. According to the Lanercost Chronicle, the front ranks were so blinded by arrows that they turned their faces away and fell.
The tightly packed schiltrons reached the English line already broken and exhausted. As a result, the hand-to-hand fighting was short. Balliol’s division broke its attackers first, then Edward III’s, and finally the rearguard under the Earl of Ross, who died fighting.
A rout, then surrender
Once the schiltrons collapsed, the English men-at-arms mounted and gave chase. The retreat quickly became a massacre. Indeed, the Scots were pursued for around eight miles, and few prisoners were spared.
The casualty figures vary wildly. English chronicles claim tens of thousands of Scots dead, while Scottish sources say 10,000. Modern historians are far more cautious. The historian Clifford Rogers, for instance, suggests roughly 2,900 Scots fell.
Whatever the true number, the loss of leadership was catastrophic. Douglas himself was mortally wounded. Of the nine most senior Scots present, six were killed. English losses, by contrast, were reported as fewer than fifteen.
Berwick surrendered the next day, 20 July, exactly as the terms required.
The long shadow of Halidon Hill
The victory looked decisive, yet it settled little. Under the Treaty of Newcastle in 1334, Balliol ceded the whole of Lothian to Edward III and did homage to him as liege lord. However, David II’s supporters refused to yield.
Balliol’s grip kept slipping. A pro-Balliol army was beaten at Culblean in November 1335, which effectively broke his cause. Consequently, though the English king invaded repeatedly, the Scots had reclaimed almost all of Scotland by late 1336.
Then, in 1337, the Hundred Years’ War erupted with France. This distraction gave David II room to recover his kingdom. Balliol tried once more after David’s capture at Neville’s Cross in 1346, but he only ever held part of Galloway.
Finally, in 1356, Balliol simply sold up. He surrendered his claim to Edward III for a £2,000 yearly pension. He then died childless in 1364, and his grave is rumoured to lie beneath a Doncaster post office.
For Edward III, though, the real legacy was tactical. The deadly pairing of dismounted men-at-arms and massed longbows worked perfectly at Halidon Hill. Later, he repeated it against the French at Crécy and Poitiers, with world-changing results.
Visiting the battlefield today
Little of the medieval landscape survives. The marsh where so many Scots died was drained and enclosed around 1800, and the site is now farmland.
Even so, the ground is protected on the Register of Historic Battlefields. Near the summit stands a simple stone monument, plainly inscribed: “Halidon Hill 19th July 1333”. Standing there, you can still trace the fatal slope the Scots were ordered to climb.