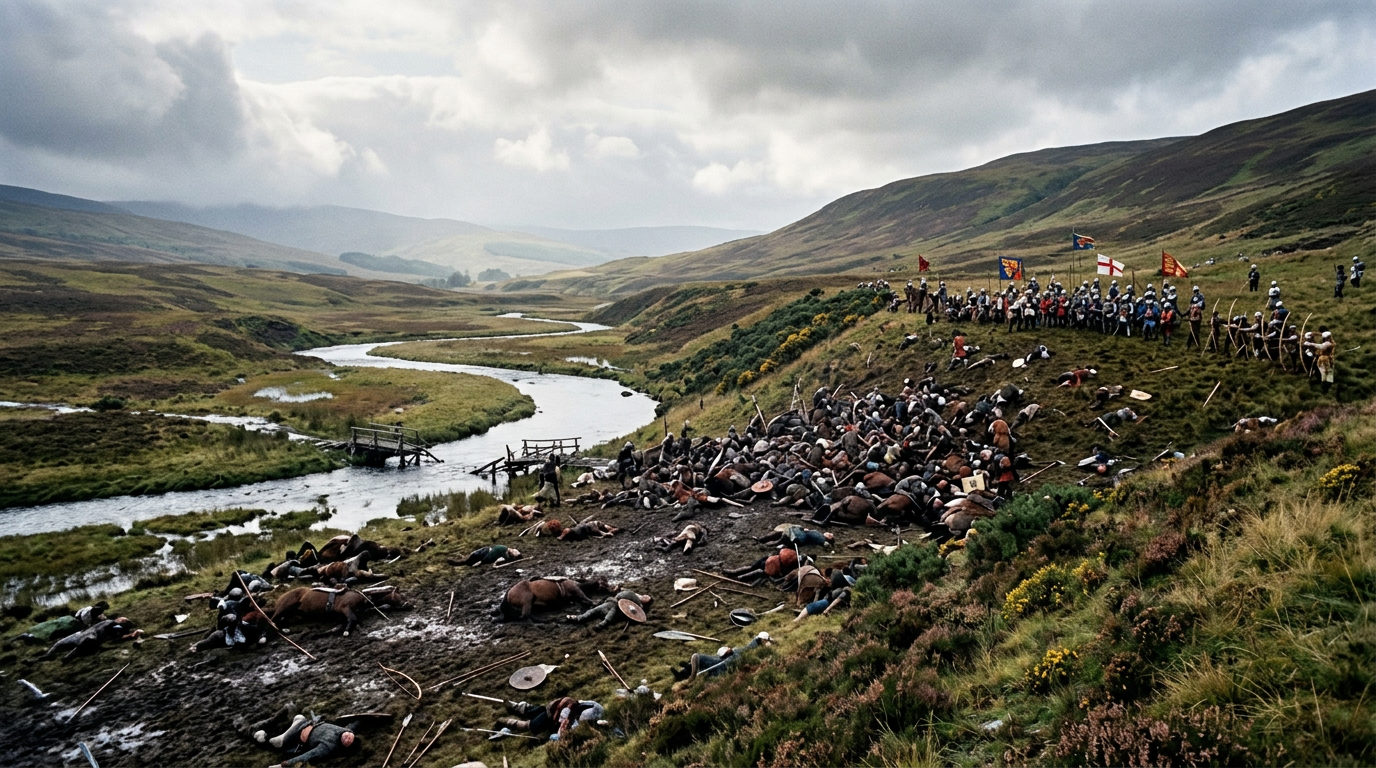
The Battle of Dupplin Moor was fought during the Second War of Scottish Independence. It took place near Perth in August 1332, when Edward Balliol’s small, English-backed army defeated a much larger Scottish force loyal to the young King David II. This victory opened the road to Perth and Scone, which allowed Balliol to claim the Scottish crown. However, his triumph did not last because his enemies forced him from Scotland within months.
The Origins of Conflict
The Battle of Dupplin Moor grew from the unstable political situation that followed the death of Robert the Bruce. Robert I died in June 1329 and his son, David II, succeeded him as king while still a child. Thomas Randolph, Earl of Moray, governed Scotland as regent until he died suddenly in July 1332. Scotland lost one of its most experienced leaders at a dangerous moment, and Edward Balliol saw an opportunity.
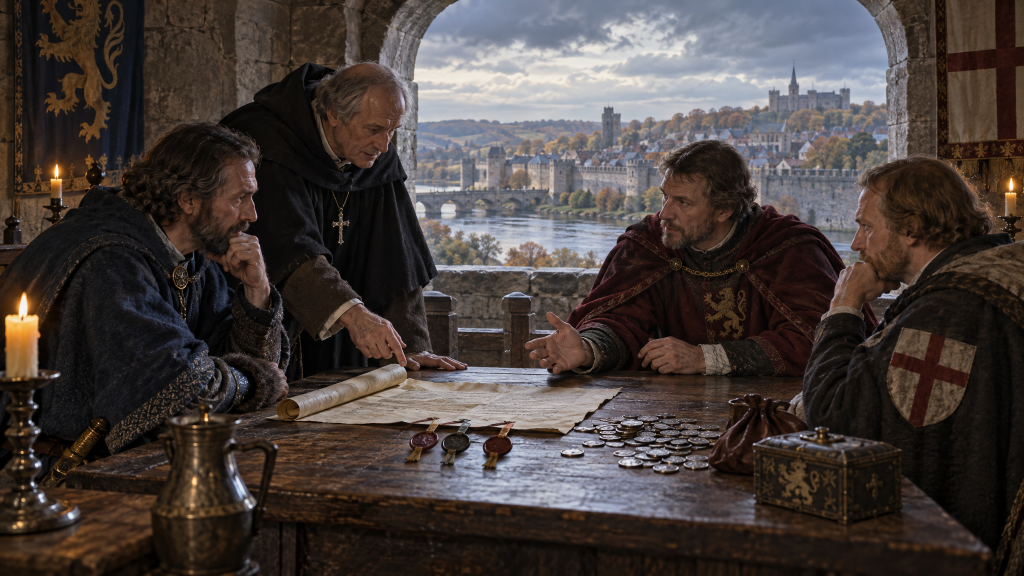
Balliol was the eldest son of John Balliol, who had been King of Scots from 1292 until 1296. Many Scottish nobles had supported the Balliol cause during the First War of Scottish Independence, but Robert the Bruce confiscated their lands after securing the throne. These exiled nobles became known as the Disinherited. Their leaders included Henry de Beaumont, David Strathbogie and Gilbert de Umfraville. They joined Balliol in an attempt to recover their estates and overturn Bruce rule. The English king, Edward III, officially opposed an invasion by land, yet he allowed Balliol and the Disinherited to organise a seaborne invasion from Yorkshire.
Rivalry and Armies
The battle brought two rival claims to the Scottish throne into direct conflict. Edward Balliol’s army supported his claim through his father, and while his force contained Scottish nobles, most of its soldiers came from England. The army also included mercenaries and around 1,000 archers. The opposing Scottish army supported David II and was commanded by Donald, Earl of Mar, the newly appointed Guardian of Scotland.
The exact size of either army remains uncertain as contemporary chroniclers give highly exaggerated figures for the Scottish force. Modern estimates often place Balliol’s army at around 1,500 men, while the Scottish army may have numbered more than 15,000. These figures should be treated cautiously because the available sources disagree sharply regarding the number of Scottish soldiers.
The Invasion Begins
Balliol’s fleet landed at Kinghorn in Fife on 6 August 1332. Scottish forces under Duncan, Earl of Fife attempted to stop the landing, but the attack failed. Balliol’s archers helped drive back the assault, which allowed the rest of his army to come ashore. The invaders then moved towards Dunfermline, where they seized military supplies before marching north towards Perth.
Balliol understood that he could not defeat every Scottish army in the kingdom, so he moved quickly and looked for an opportunity to strike before the Scots could combine their forces. Near Perth, Donald, Earl of Mar, gathered a large army on the northern bank of the River Earn. The Scots destroyed the bridge and waited for Balliol to attack. At first, Mar appeared to hold the stronger position since the river protected his army and Balliol faced a force that greatly outnumbered his own. However, the Scottish position had a serious weakness because they did not adequately protect other crossing points along the river.
The Night Crossing
The Scots expected the river to prevent a night attack, and while they guarded the broken bridge, they left other areas vulnerable. According to accounts of the battle, Balliol’s forces found an unguarded ford and crossed the River Earn during the night. The element of surprise caused massive confusion as Balliol’s men attacked part of the Scottish force before dawn. Some Scottish soldiers were killed or captured immediately, while others fled into the darkness. The main Scottish army remained intact, but at sunrise, it discovered Balliol’s army waiting in a strong defensive position. The smaller force had survived the night and now prepared to withstand the attack of a much larger army.
A Struggle for Space
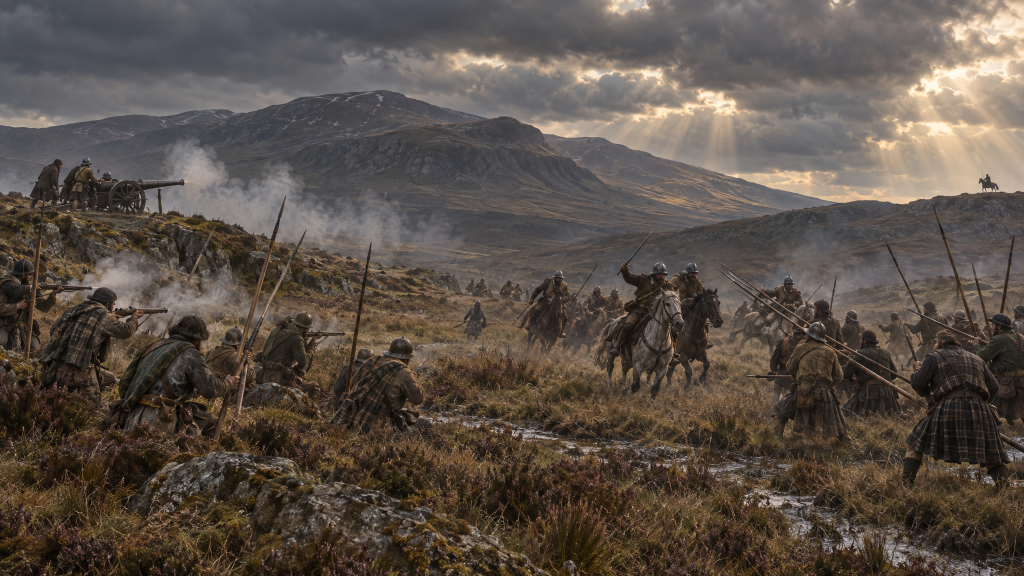
Balliol and Henry de Beaumont arranged their men carefully by dismounting their men-at-arms to form a compact defensive line. English longbowmen stood on both flanks where the ground allowed them to fire into the sides of the advancing Scottish formations. The Scottish army advanced in large, tightly packed formations known as schiltrons. These formations could be powerful when they maintained order, but at Dupplin Moor, the Scottish attack became disorganised.
Two Scottish formations reportedly competed to reach the English position first, and the leading formation charged into a narrowing valley. The terrain restricted its movement and prevented the army from spreading out properly. As more men pressed forwards from the rear, the soldiers at the front had little room to use their weapons. The English men-at-arms held their position while the longbowmen began firing into the Scottish flanks. These arrows caused casualties and forced Scottish soldiers towards the centre, which increased the pressure within the already crowded formation.
Tactics and Outcomes
The Scottish attack stalled when men fell beneath the pressure of those behind them. Some were trampled while others suffocated in the crush. The battle became a violent struggle for space rather than a contest of individual combat. The Battle of Dupplin Moor is often remembered as an early demonstration of the power of massed English longbowmen, but the victory depended on several factors working together.
The archers became particularly effective because the Scottish soldiers could not manoeuvre freely. After the Scottish formations eventually broke, many soldiers attempted to flee down the valley. Balliol’s mounted troops pursued them and killed many more as the Scottish army collapsed altogether. Donald, Earl of Mar, died during the battle along with other prominent Scottish nobles like Thomas Randolph, son of the former guardian, and Muireadhach Stewart. The result was a decisive victory for Edward Balliol, and Perth fell soon afterwards.
A Fragile Kingship
Edward Balliol was crowned King of Scots at Scone on 24 September 1332, but his coronation did not settle the Scottish succession. His authority depended on military support from the Disinherited and from Edward III of England. Three months later, nobles loyal to David II launched a surprise attack at Annan, and Balliol fled Scotland to seek refuge in England.
His kingship became a cycle of victory and collapse. Edward III openly supported Balliol in 1333, and they returned to Scotland to capture Berwick. Balliol later ceded Lothian to Edward III, which damaged his reputation among Scots who valued independence. Although David II fled to France, Balliol could never secure lasting control because rival Scottish factions continued to resist him. He was driven from Scotland again in 1334, and a later defeat at Culblean in 1335 marked the effective end of his serious attempts to rule.
Historical Significance
The Battle of Dupplin Mooris important because it gave Edward Balliol a temporary route to the Scottish crown and exposed weaknesses in the Scottish military response. The Scots had overwhelming numbers, yet poor reconnaissance and a failure to protect the river crossings allowed Balliol to seize the initiative. The battle also demonstrated how archers and disciplined defensive infantry could defeat a much larger force on difficult ground.
Dupplin Moor was not simply a clash between England and Scotland, but a conflict between rival Scottish dynasties and competing groups of nobles. That mixture of dynastic ambition and foreign intervention gave the battle its deeper character. Balliol’s victory began with a royal claim, yet it depended on an army of exiles and English soldiers. His triumph at Dupplin Moor was dramatic, but it remained incredibly fragile. He had taken the crown within weeks, only to lose it again a few months later.